Everything You Need to Know About Attic Mold Removal
Mold in the attic is one of those problems that creeps up on you. You might not notice it until you pull down the ladder for holiday decorations or hear a musty smell drifting into the bedrooms below. By then, the spores have already settled into the wood sheathing, the insulation, and sometimes even the roof trusses. I have seen attics where a small leak from a plumbing vent or a compromised roof flashing turned a dry, dusty space into a full-blown mold habitat within one rainy season. The good news is that attic mold removal is a process you can approach methodically, with the right tools and a clear understanding of what works and what doesn't.
Before you grab a scrub brush and a bucket, you need to understand how mold behaves in an attic. Unlike a damp basement or a humid crawlspace, an attic often has temperature swings that drive condensation. Warm air from the living spaces below rises into the attic, and when it hits a cold roof deck in the winter, moisture condenses on the wood. That thin layer of water is all mold needs to colonize. The same thing can happen in summer if your attic is poorly ventilated and traps humid outdoor air. So attic mold removal is not just about cleaning what you can see; it is about fixing the moisture source. If you skip that step, the mold will return within weeks.
Assessing the problem before you start
I always recommend starting with a thorough inspection. You might not be able to see the full extent of the growth because mold often hides behind stored boxes, under insulation, or on the underside of the roof deck. A small inspection camera with a flexible probe can help you peer into tight corners without crawling through fiberglass. Look for dark stains, white or greenish patches, and any powdery residue that wipes off on your finger. If you suspect you have a respiratory sensitivity or if the area of visible mold exceeds about ten square feet, it is wise to call a mold inspector or a remediation company before you do anything else. They can test for spore levels and identify the exact species, which can guide your approach.
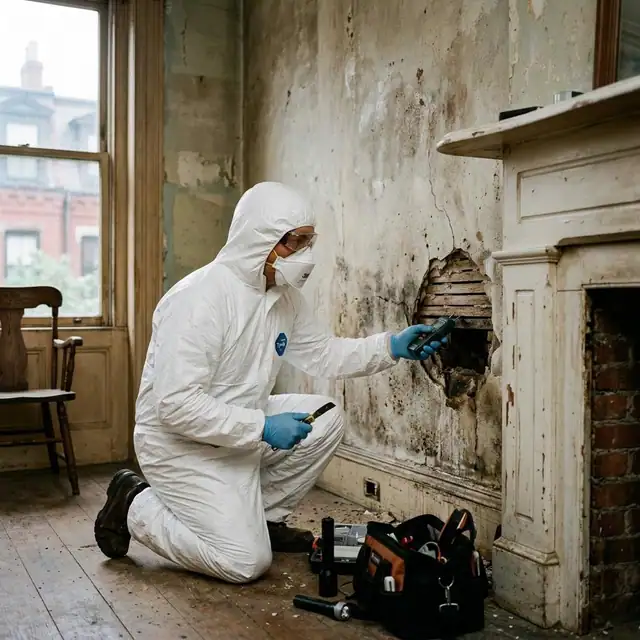
For smaller patches, you can handle the job yourself, but you need to gear up properly. An N-95 respirator is the minimum; a half-face respirator with P100 filters offers better protection. Mold spores can trigger allergies and asthma even if you have never had issues before. Wear protective gloves that extend past your wrists, and consider disposable coveralls if you will be crawling around. Seal off the attic from the rest of the house with plastic sheeting taped over the access hatch. This prevents spores from drifting into your living spaces during the work. I have seen homeowners skip this step and end up with mold in their bedroom closets a month later.
Choosing the right cleaning products
There is a lot of debate about what kills mold best. Bleach is a common household go-to, but it has serious limitations on porous surfaces like wood. Bleach is mostly water, and the water soaks into the wood while the active chlorine stays on the surface. That means it can kill surface mold but leave the roots alive deep in the grain. I have cleaned old attic rafters that looked pristine after a bleach scrub, only to have the stain return within a month. For wood, you are better off with a product like Concrobium or a diluted borax solution. Borax is alkaline and works by disrupting the mold's cell walls, and it does not off-gas harsh fumes. Another option is hydrogen peroxide at a 3 percent concentration, which bubbles up as it oxidizes organic material. It is gentler than bleach and works well on wood and drywall.
For non-porous surfaces like metal ductwork or plastic storage bins, a diluted bleach solution or white vinegar can do the job. Vinegar is about 5 percent acetic acid, which can kill many mold species on contact. Tea tree oil is a natural antifungal that some people swear by, but it is expensive and can irritate skin if used undiluted. I have used it in small areas where I wanted to avoid strong chemicals, but it is not a substitute for a thorough clean. If you are dealing with a heavy infestation, consider a commercial mold fogger that disperses a fine mist of fungicide into the air and onto surfaces. These can reach spots you cannot scrub, but they require you to vacate the attic for several hours and follow the safety directions closely. One product I have seen used effectively in attics is RMR-141, which is a concentrated mold killer that you mix with water. It dries clear and leaves a residual protection, which can help delay regrowth.
The actual cleaning process
Start by removing any contaminated insulation or debris. Fiberglass batt insulation that has been wet for a long time will harbor mold deep inside, and no amount of surface cleaning will fix it. Bag it in thick contractor bags and seal the openings. Then vacuum the entire attic with a HEPA vacuum. A HEPA vacuum captures spores down to 0.3 microns and prevents them from being blown back into the air. Regular shop vacuums with standard filters will just exhaust spores everywhere. I made that mistake once on a job in Boston MA, and the client's daughter had an asthma flare-up that same night. A HEPA vacuum is not optional; it is essential.
Once the loose debris and spores are gone, apply your chosen cleaning solution. If you are using borax, mix one cup per gallon of hot water. Scrub the affected wood with a stiff brush, working the solution into the grain. Let it sit for ten to fifteen minutes, then wipe away the residue with a clean cloth. Do not rinse with plain water; the borax residue helps prevent regrowth. For Concrobium, you spray it on and let it dry. It leaves a crystalline barrier that inhibits future mold. If you are using hydrogen peroxide, test an inconspicuous spot first because it can lighten some wood stains. Apply it with a spray bottle, let it foam, and then wipe dry.
Preventing mold from returning
Cleaning is only half the battle. Attic mold removal without addressing the moisture source is like mopping a floor while the sink is still running. The most common causes are poor attic ventilation, bathroom or kitchen exhaust fans that vent into the attic instead of outside, and gaps in the ceiling that allow warm air to leak upward. Make sure your attic has adequate intake and exhaust vents. Ridge vents and soffit vents work together to create a natural airflow that carries moisture out. If your attic is unconditioned, you should also consider a dehumidifier if you live in a humid climate, but only if you can run a drain line to a floor drain. Emptying a dehumidifier bucket every day in an attic is impractical and dangerous because the bucket can overflow and cause more moisture.
Another key step is sealing air leaks from the living space below. Caulk around light fixtures, plumbing stacks, and any penetrations in the ceiling. Install weatherstripping around the attic hatch. In older homes in Boston MA, I have seen attic mold caused by nothing more than a poorly sealed pull-down stair. The warm air leaking around the stair panel created condensation on the adjacent roof sheathing every winter. Fixing that seal cost the homeowner about twenty dollars in materials and solved a mold problem that had returned every spring for years.
When to call a professional
There are situations where DIY attic mold removal is not enough. If the mold covers more than ten square feet, if you suspect it is toxic black mold (Stachybotrys chartarum), or if the wood framing has started to rot, you need a remediation company. Professionals like EnviroKleen use commercial-grade equipment, including negative air machines and advanced HEPA vacuums, to contain and remove heavy infestations safely. They also know how to navigate EPA guidelines for disposal and cleanup. In some cases, the mold has penetrated so deep into the wood that sanding or even replacing sections of the roof deck is necessary. A mold inspector can give you a clear picture of the damage and a written plan for remediation.
I have also seen homeowners try to paint over mold stains with mold-resistant primer. That can work temporarily, but only if the surface has been thoroughly cleaned and dried first. Painting over active mold is like putting lipstick on a pig; the mold will continue to grow underneath and eventually push through the paint. Always address the root cause. If you are unsure about your attic's ventilation or the extent of the moisture issue, hire a professional to do an energy audit or a moisture assessment. It costs a few hundred dollars but can save you thousands in repeated cleaning and structural repairs.
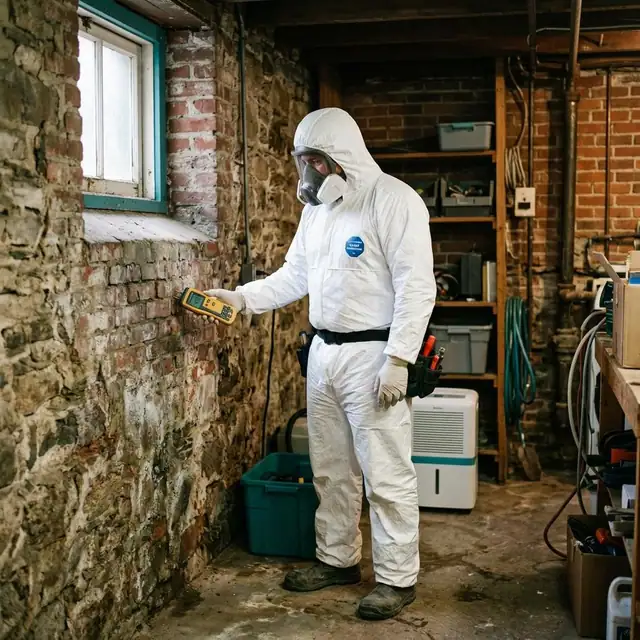
Attic mold removal is not glamorous work, but it is satisfying to turn a musty, unhealthy space into a clean, dry storage area. The key is to be patient, use the right tools, and never cut corners on safety or moisture control. Whether you tackle it yourself with a HEPA vacuum and borax or call in a remediation company like EnviroKleen, the principles are the same: clean thoroughly, dry completely, and prevent the conditions that allowed mold to grow in the first place. Your attic will thank you, and so will your lungs.